What if the most expensive designer fixture in your home looks cheap simply because it's hanging three inches too low? It's a common frustration. You've picked out a beautiful piece. The actual pendant light installation feels like a high-stakes guessing game. You worry about the height ruining the room aesthetic. You feel anxious about handling the electrical wiring. You look at your high or slanted ceilings. You wonder if a level mount is even possible. You aren't alone in wanting a professional finish without the stress of a DIY disaster.
Getting your lighting right requires a balance of mathematical precision and electrical safety. This guide delivers the exact placement standards and professional steps needed to transform your space. We'll explore 2026 design trends like sculptural forms and smart integration. You'll learn how to meet the latest National Electrical Code requirements. This includes the updated lighting load calculations of 2 volt-amperes per square foot for dwelling units. From perfectly leveled fixtures to secure connections, you'll gain the clarity to achieve a modern, updated look for your home. Let's get to work.
Key Takeaways
- Define zones in open-concept floor plans. Bridge the gap between functional task lighting and decorative art.
- Calculate precise height and spacing. Avoid the aesthetic ruin of poorly placed fixtures over islands or dining areas.
- Choose between hardwired and swag methods. Determine which pendant light installation fits your home structure and style.
- Verify structural integrity and electrical safety. Ensure your junction box supports the fixture weight and power is cut at the breaker.
- Access professional light fixture installation in Tucson, Oro Valley, and Marana. Focus on the design while experts handle the technical details.
Why Pendant Light Installation is a Top Interior Upgrade
A Pendant light is more than a bulb on a cord. It is a bridge. It connects functional necessity with artistic expression. Many Tucson homes feature open-concept floor plans that lack structural boundaries. These layouts need clear zones to feel organized. A professional pendant light installation creates these zones without the need for walls. You define exactly where the kitchen ends and the dining area begins. It updates the home immediately. It adds tangible value. It moves beyond the flat, sterile look of standard recessed cans or basic flush-mount fixtures. You get a personalized look that reflects your specific style.
Modernizing key areas like kitchens and dining rooms is a smart investment. These are the rooms where families gather. They are the rooms buyers look at first. Upgrading to stylish pendants signals that the home is well-maintained and current. It replaces the "builder grade" feel with something custom. You aren't just changing a light. You are changing the entire atmosphere of the room. It is a high-impact change for a relatively low effort. The result is a space that feels intentional and finished.
Defining Your Space with Task Lighting
The kitchen island is the primary hub of the modern home. It is where you prep food. It is where kids do homework. It needs light that works. Pendants provide direct, downward illumination exactly where you need it. This setup reduces the annoying shadows often cast by overhead recessed lighting. It keeps the work surface clear and visible during food preparation. Precision matters here. Use dimmable bulbs to add versatility to the space. This allows a quick transition. You move from a bright, productive workspace to a soft, inviting dinner atmosphere with one click. It is about control and efficiency.
Aesthetic Impact in Modern Arizona Homes
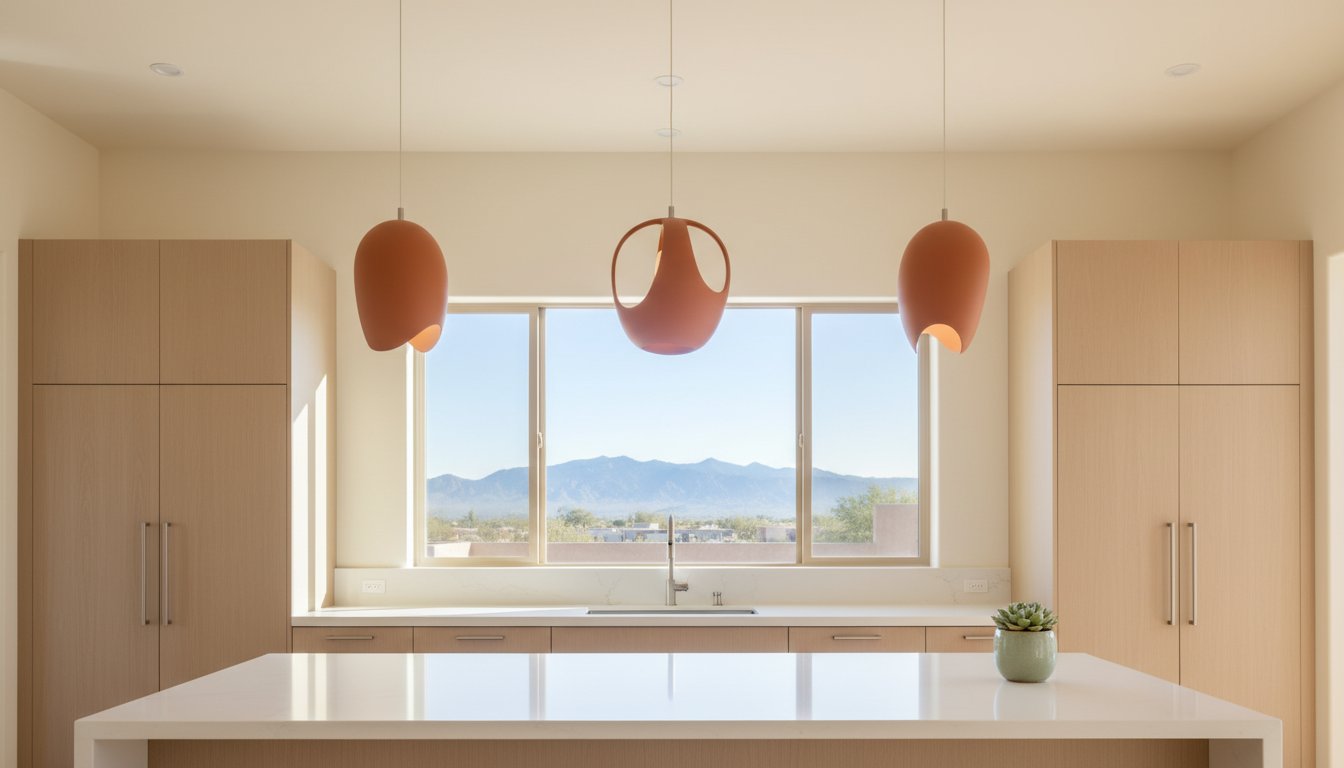
Desert modern style relies on clean lines. Minimalism is the standard in contemporary Arizona architecture. Modern pendants fit this aesthetic perfectly. When planning your pendant light installation, consider mixed materials to add depth to your ceiling. Matte black finishes look sharp against neutral walls. Brushed brass adds a touch of warmth to the room. Clear or seeded glass keeps the space feeling open and airy.
Follow the "rule of three" for the best visual balance. Three fixtures over a standard-sized island create a sense of rhythm and symmetry. It prevents the space from looking cluttered or under-lit. For smaller surfaces, a single oversized pendant can act as a bold focal point. The goal is balance. You want the lighting to complement the room, not overwhelm it. It should look professional and permanent.
Placement Standards: Spacing and Height Examples
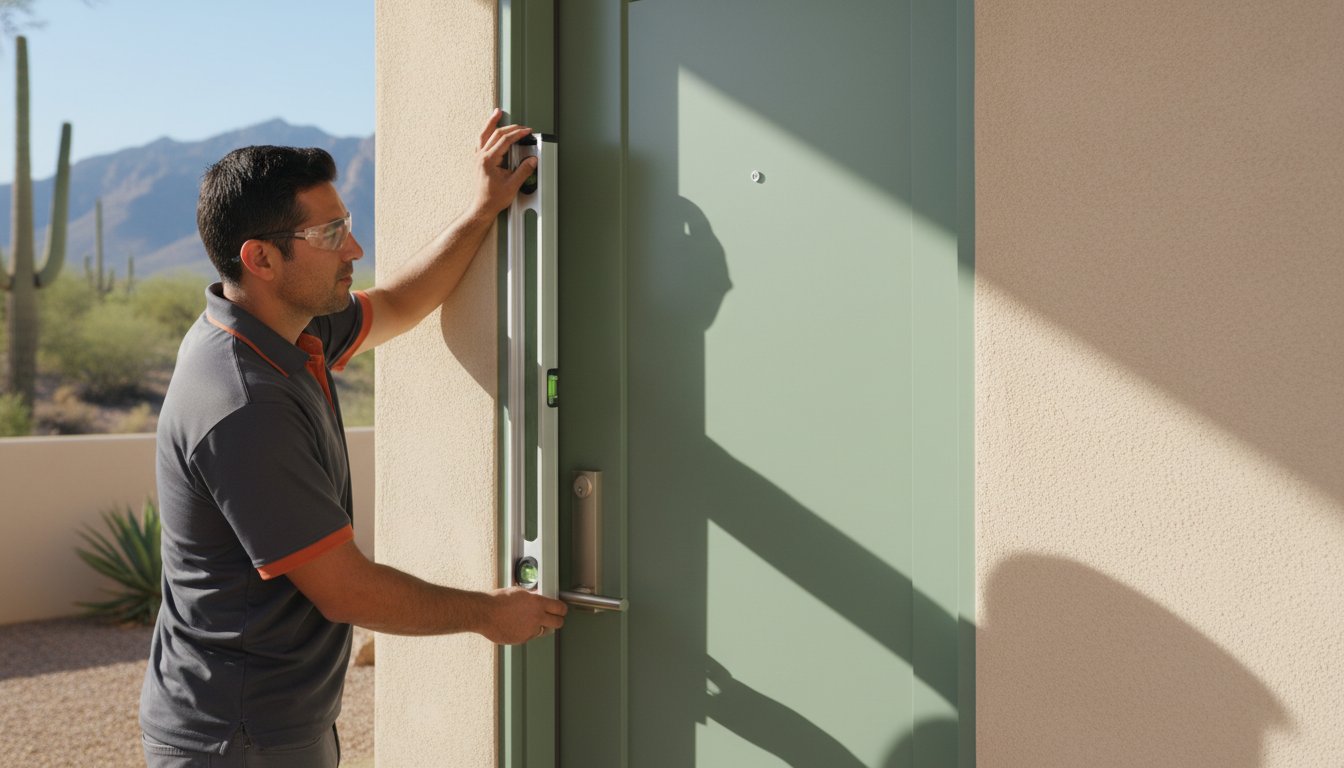
Accuracy defines the final outcome. A sloppy layout ruins a high-end fixture. Professional pendant light installation relies on mathematical standards. Don't eyeball it. Use a laser level or a plumb line to find the exact center of your workspace. Alignment is critical. A half-inch offset looks like a mistake. It is a mistake. Your eyes naturally seek symmetry. When fixtures are off-center, the whole room feels unbalanced and chaotic. Precision is the difference between a designer look and a DIY project.
Start with the basics. Height is always measured from the mounting surface to the bottom of the fixture. This includes the table, island, or floor. Spacing is just as important. You must account for the diameter of the pendant itself. Large fixtures need more breathing room. Small fixtures can sit closer together. If the pendants are too close, they compete for attention. If they are too far apart, the light won't overlap properly. This creates dark spots on your countertop. You want a continuous wash of light across the entire surface.
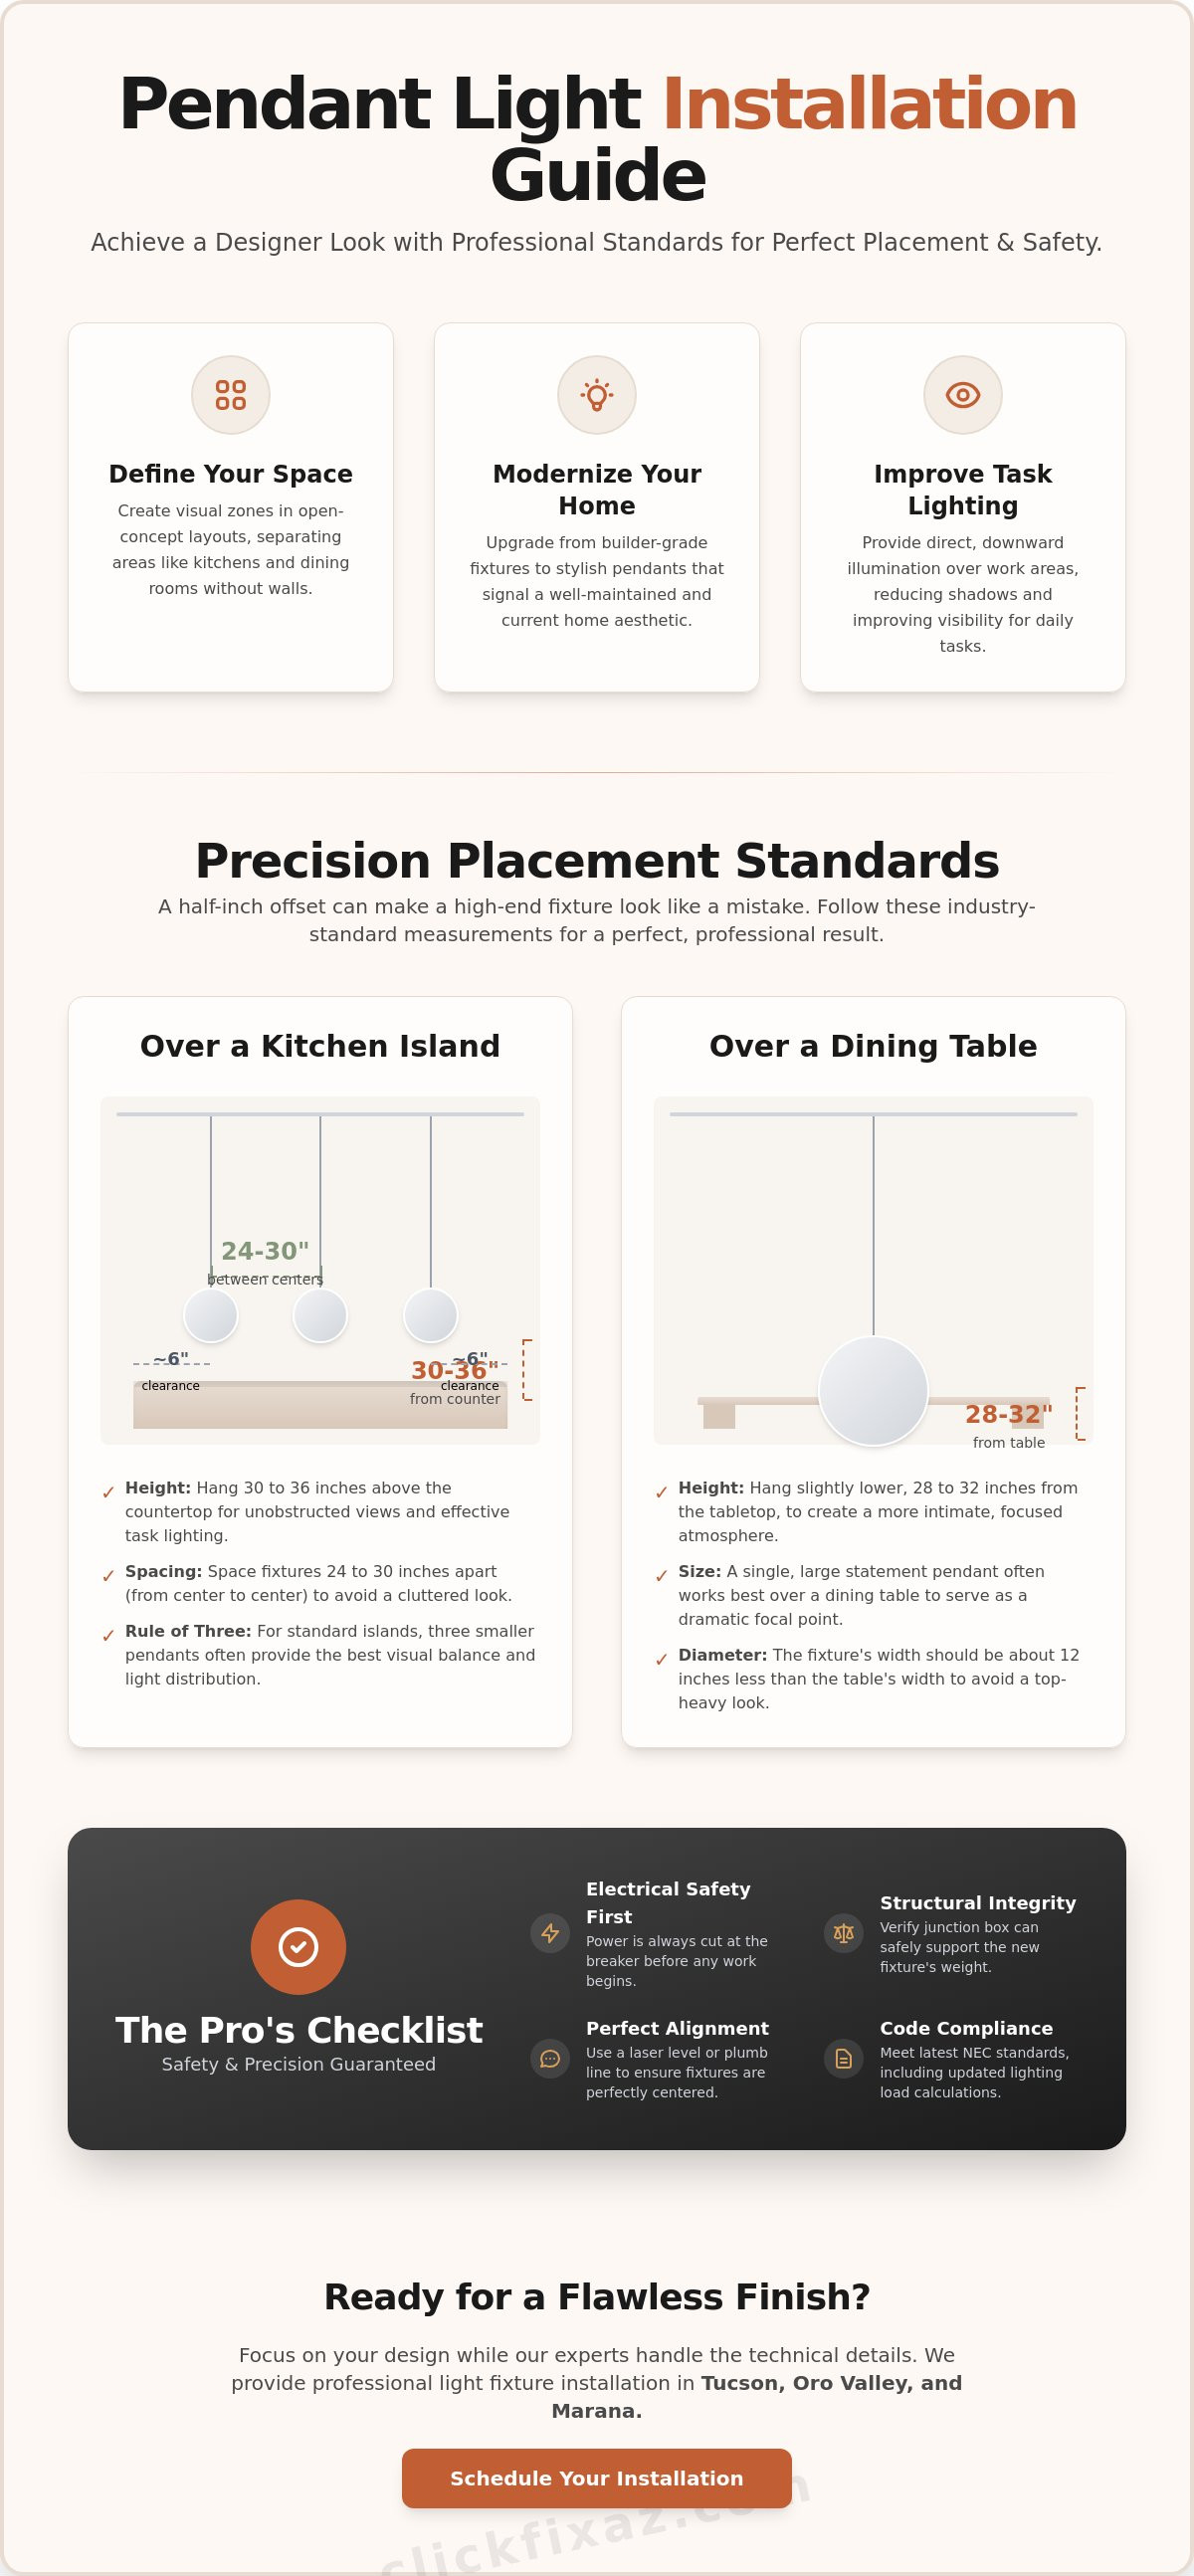
Kitchen Island Installation Standards
Aim for 30 to 36 inches above the countertop. This is the industry standard. It provides clear task lighting without obstructing your view. If you are a taller homeowner, lean toward 36 inches. You don't want the light in your eyes while you prep dinner. Space fixtures 24 to 30 inches apart from their centers to avoid a cluttered look. A 6-foot island typically fits two large pendants or three small ones. Balance is the goal. The total width of all fixtures should be about 12 inches less than the total width of the island. This leaves 6 inches of clearance on each end. For precise results, consider professional light fixture installation to ensure every measurement is exact.
Dining Table and Entryway Variations
Dining rooms require a different approach. Hang pendants slightly lower. Aim for 28 to 32 inches from the tabletop. This creates an intimate feel for meals. It draws the eye down to the table setting. Always factor in sightlines. Sit in the chairs before finalizing the height. Ensure the fixture doesn't block views of people across the table. If your table is exceptionally long, use a linear pendant or a cluster. This ensures the ends of the table aren't left in the dark.
Entryways are about clearance and scale. Maintain at least 7 feet of space from the floor. This prevents taller guests or moved furniture from hitting the glass. If you have a vaulted ceiling, adjust the cord length to maintain this clearance. Do not guess. Measure twice. Check the swing of your front door. Ensure the fixture doesn't interfere with the door's path. A pendant that hits the door is a safety hazard and a design failure. Keep it clear and keep it safe.
Choosing Your Installation Method: Hardwired vs. Swag
Pick your method. Your choice dictates the labor. It also dictates the final look of your ceiling. A permanent pendant light installation usually falls into one of two categories: hardwired or swag. Hardwired is the standard for a professional, integrated finish. It hides the guts of the system. Swag is a functional workaround. It solves specific layout problems without opening up the drywall. Decide which fits your goals before you buy the fixture. One offers a seamless look. The other offers flexibility.
Hardwired installations are the most popular for kitchen upgrades. They look intentional. They feel permanent. The wires run through the ceiling and connect to a junction box. This method allows you to control the light from a wall switch. It also integrates with smart home dimmers. The lack of visible cords keeps the focus on the design of the light itself. If you want to increase your home's value, go with a hardwired setup. It is a clean, modern solution that buyers expect in a finished home.
The Clean Look of Hardwired Fixtures
This method requires a dedicated junction box in the ceiling. If you are replacing an old light, the box is already there. If you are adding a new light, you must install a new box. This involves cutting into the drywall. It involves running new electrical lines. It is a more complex process. However, the result is the cleanest possible aesthetic. It is the best choice for permanent upgrades in homes across the Catalina Foothills or Marana. You get a fixture that looks like it was built into the architecture of the house. It is stable. It is secure. It is professional.
When to Consider Swag or Plug-In Options
Sometimes the ceiling box is in the wrong spot. It is three feet away from where you want the table. You don't want to move the electrical box. This is when you use a swag light. A swag fixture uses a long cord that plugs into a standard wall outlet. You use a ceiling hook to position the light exactly where you need it. This is a great solution for renters. It is also useful in older homes with concrete ceilings.
Safety is the priority here. You must use a ceiling hook capable of supporting the fixture's weight. Heavy sculptural pendants can weigh 20 pounds or more. A simple plastic drywall anchor will fail. You must find a joist or use a heavy-duty toggle bolt. Be aware of the visual trade-off. A cord will run across your ceiling. It will drop down your wall to the outlet. It is less "finished" than a hardwired light, but it provides the light you need without a major renovation. For any hardwired pendant light installation, professional help is the safest route to ensure code compliance and structural integrity.
The Professional Installation Process: What We Check
Safety is the baseline. It starts at the electrical panel. We verify the power is completely cut before touching any wiring. This isn't just a precaution. It's a standard. We use non-contact voltage testers to ensure the circuit is dead. DIY guides often skip this or assume a single switch is enough. It isn't. Professional pendant light installation demands certainty. We eliminate the risk of shocks or short circuits before the work begins.
Next, we inspect the junction box. Many older Tucson homes have plastic boxes intended for lightweight fixtures. Modern sculptural pendants are heavy. They use thick glass and solid metal. We check the structural integrity of the mount. If the box can't hold the weight, we replace it with a reinforced metal version. We ensure the mounting bracket sits flush against the ceiling. A gap here causes wobbling. It looks unfinished. It is a safety hazard. We verify every screw is tightened to the correct torque.
Precision leveling follows. We use laser levels for every project. This is critical when installing a row of three pendants over an island. Even a tiny deviation is visible to the eye. We align the fixtures perfectly in a straight line. We verify the height of each cord. They must be identical. We don't guess. We measure to the millimeter. Wiring verification is also part of the check. We look for frayed wires or improper grounding from previous work. We fix these issues before finishing the job.
Mounting and Structural Support
Arizona architecture often features vaulted or slanted rooflines. These present a challenge for standard mounting kits. We use specialized adapters to ensure the pendant hangs perfectly vertical. Gravity should be the only force acting on the cord. We also handle the weight of high-end materials. Heavy glass or oversized metal fixtures require secure anchoring into the ceiling joists. We don't rely on drywall alone. Every bracket is tested for stability before the fixture is attached. This prevents sagging or ceiling damage over time.
Electrical Connection and Finishing
We securely connect the hot, neutral, and ground wires using high-quality wire nuts. Every connection is tug-tested. We tuck the wires neatly into the canopy. This prevents pinching or exposed copper. Finally, we test the circuit. We verify the bulb wattage matches the fixture's rating to prevent overheating. We ensure the dimming function works without flickering. If you want the job done right the first time, book your light fixture installation with our team. We handle the technical risks so you don't have to.
Expert Light Fixture Installation in the Tucson Area
ClickFix simplifies the home improvement process. We provide professional installation across Tucson, Oro Valley, and Marana. You've likely spent weeks selecting the perfect fixture. Now, let us handle the technical execution. A proper pendant light installation requires more than just connecting two wires. It requires a commitment to safety and a sharp eye for aesthetics. We ensure every light is level. We ensure every connection is secure. You focus on the design of your home. We handle the heavy lifting. We bring the ladders. We use the specialized tools. We manage the electrical risks so you don't have to.
Precision is our baseline. We don't settle for "close enough" or "good for now." Our team verifies every mount. We check for proper grounding. We ensure the junction box is rated for the fixture's weight. This is the peace of mind you get with professional service. We eliminate the anxiety of high ceilings and slanted rooflines. Beyond lighting, we help with other high-impact upgrades. Consider our professional tv mounting service tucson for a total home transformation. We bring the same level of discipline to every task. Whether it's a light or a television, we prioritize stability and clean lines. We help you create a finished, intentional look in every room.
Serving the Southern Arizona Community
We know Tucson. We understand the specific construction styles found in Casas Adobes and the Catalina Foothills. From modern desert builds to classic southwestern homes, we've seen every type of ceiling and wiring configuration. We understand local electrical standards. We respect your home. Our service is punctual. It's reliable. We arrive when we say we will. We work with a sense of urgency but never sacrifice quality. We clean up our workspace when we're finished. You get local expertise paired with a modern, tech-savvy approach. It's straightforward, neighborly service for the Southern Arizona community. We take pride in being the problem solvers your home needs.
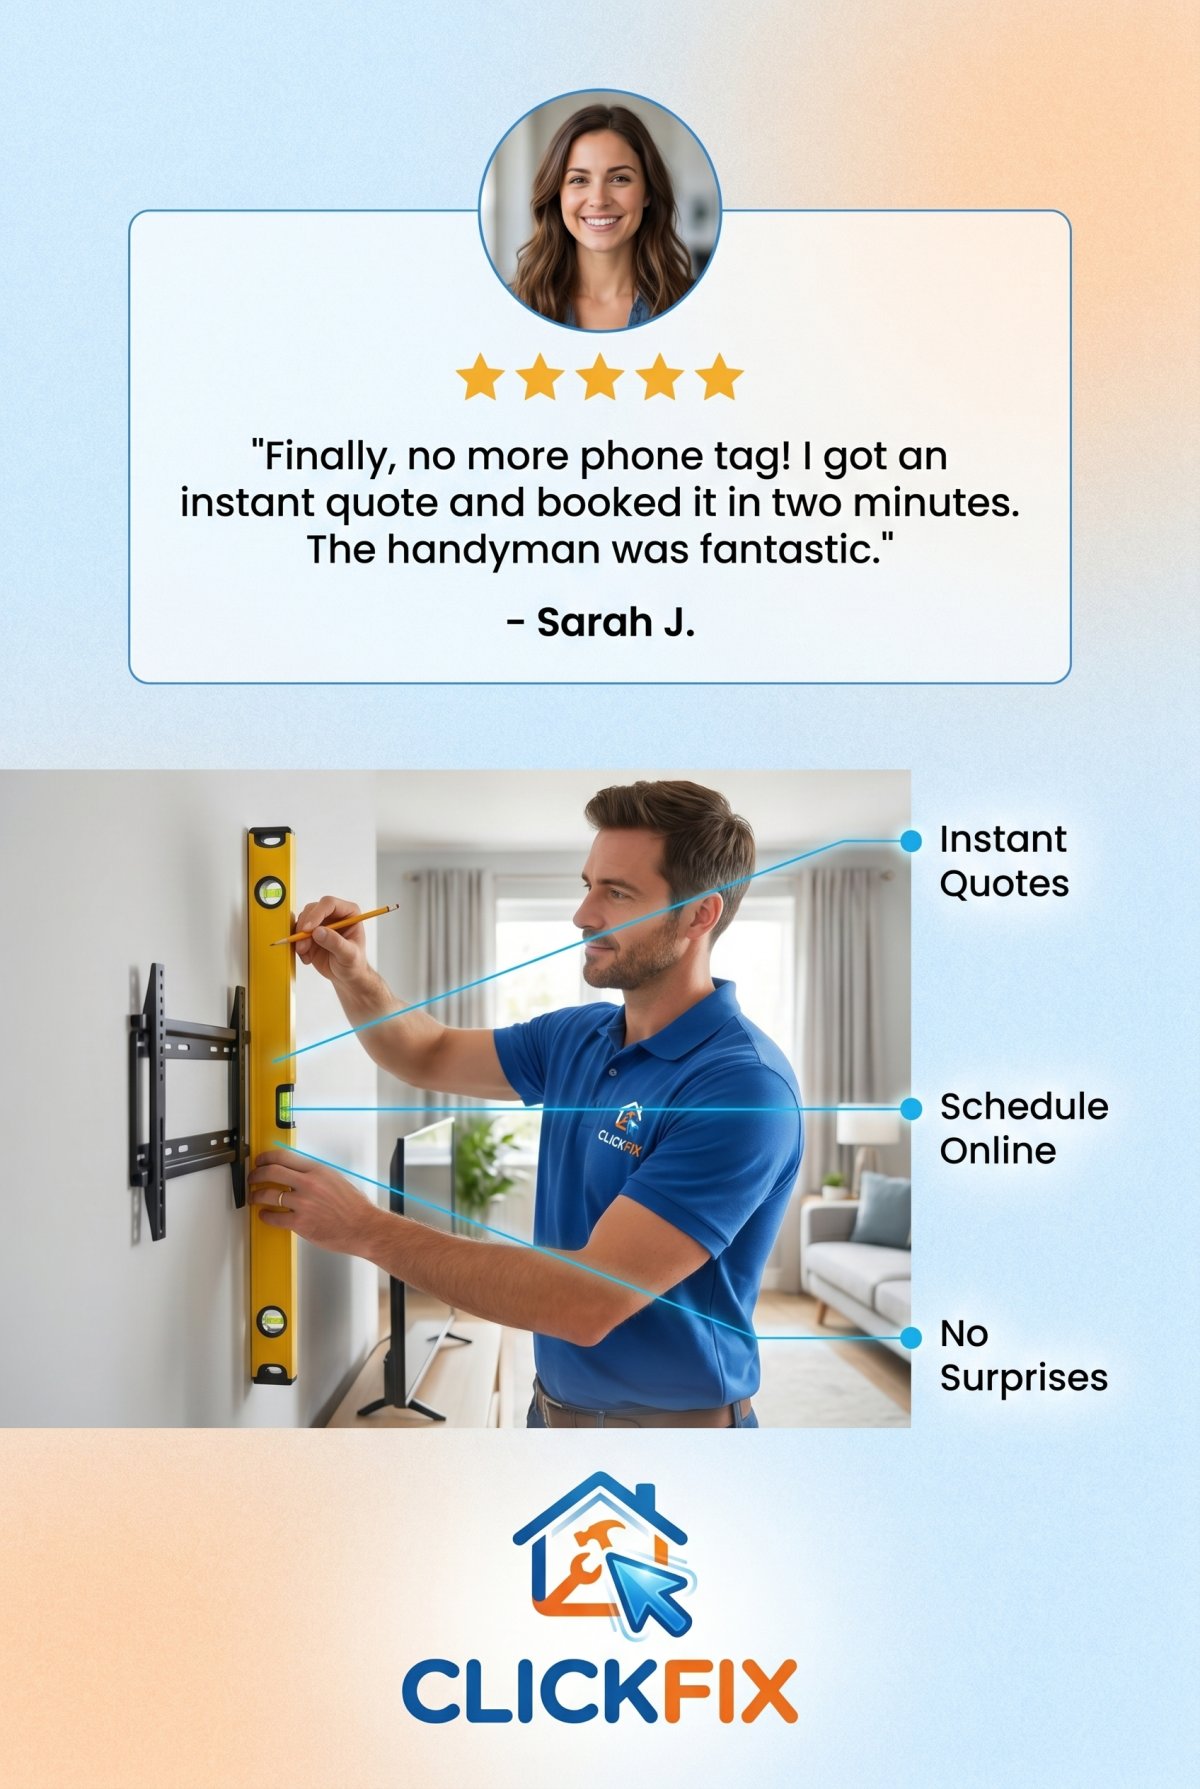
Ready to Brighten Your Home?
Stop struggling with DIY electrical work. Avoid the frustration of crooked fixtures and flickering bulbs. Don't risk a fall from a tall ladder or a wiring mistake that could cause a fire. Start your project with a clear, upfront quote. We don't believe in hidden fees or surprises. We provide a transparent process from the moment you contact us. Book your appointment online today for a seamless experience. It's fast. It's simple. Get the modern, updated look you've been planning. Let's get your pendant light installation completed with professional standards. We are ready to get to work.
Transform Your Space with Professional Precision
Achieving the perfect look requires more than a stylish fixture. It demands exact measurements and technical safety. You now have the standards for height and spacing. You understand the difference between hardwired and swag methods. You know what a professional check involves. Don't leave your pendant light installation to chance. A single miscalculation can ruin the symmetry of your kitchen or dining room. Poor wiring can lead to long-term safety issues that are easily avoided with expert help.
ClickFix has been locally owned and operated since 2018. We serve homeowners across Tucson, Marana, and Oro Valley. Our team brings deep expertise in electrical fixtures and custom carpentry to every project. We ensure your lighting is level, secure, and fully compliant with 2026 standards. We take the guesswork out of home maintenance so you can focus on enjoying your updated space. We arrive on time and get the job done right.
Ready to get started? Book Your Professional Pendant Installation Today. It's time to enjoy a brighter, more modern home with total confidence. We look forward to helping you finish your project with the quality it deserves.
Frequently Asked Questions
How much does it cost to have a pendant light installed professionally?
Professional installation costs generally range between $150 and $400 per fixture for standard projects with existing wiring. This average reflects the labor required for assembly, mounting, and electrical connection. Costs can increase significantly if your project requires new electrical lines, structural reinforcement for heavy fixtures, or a permit. Request a specific quote for your home to account for ceiling height and wiring conditions.
Can I replace a recessed light with a pendant light?
Yes, you can replace a recessed light by using a recessed lighting converter kit. This kit screws into the existing socket and provides a secure mounting bracket for the new pendant. It is a practical solution that avoids the need for drywall demolition or new junction boxes. Ensure the converter kit is rated to support the specific weight of your new fixture before beginning the swap.
How many pendant lights do I need for a 5-foot kitchen island?
Two medium-sized pendants are the standard choice for a 5-foot island. This setup provides balanced light across the workspace without making the area feel crowded. Space the fixtures approximately 30 inches apart, measured from the center of each light. If you choose an oversized sculptural piece, a single large pendant centered over the island can also create a clean, modern look.
Do I need an electrician to install a pendant light, or can a handyman do it?
A professional handyman can perform a standard pendant light installation if the electrical box and wiring are already present. This is a common service for home maintenance experts who handle light fixture replacements. You should hire a licensed electrician if the project involves running new circuits or moving existing wiring behind the walls. Always verify that the person you hire is comfortable with the specific weight and height of your fixture.
What is the standard height for a pendant light over a dining table?
The bottom of the fixture should sit 28 to 32 inches above the dining table surface. This height creates an intimate setting for meals while keeping the light source out of your direct line of sight. Consider the height of the residents in your home when making final adjustments. For rooms with ceilings higher than eight feet, you may need to add three inches of height for every additional foot of ceiling.
Can pendant lights be installed on a slanted or vaulted ceiling?
Yes, pendant lights can be installed on slanted ceilings using a sloped ceiling adapter or a swivel canopy. These components allow the mounting hardware to sit flush against the angle while the light hangs perfectly straight. Many modern fixtures include this hardware in the box. If yours does not, you must purchase a compatible adapter to prevent the cord or rod from hanging at an awkward angle.
How long does a typical pendant light installation take?
A standard installation usually takes one to two hours per fixture. This estimate includes the time needed to unpack the unit, adjust the cord or chain length, and complete the electrical connections. Complex installations involving high vaulted ceilings or heavy glass components may take longer. Proper preparation, such as having the workspace cleared and the power identified at the breaker, helps the process move efficiently.
What should I do if my ceiling junction box is not centered?
You can solve an off-center junction box by either moving the box or using a swag hook. Moving the box is the most professional option but requires cutting the drywall and performing minor repairs. A swag kit allows you to drape the cord from the existing box to a hook placed exactly where you want the light to hang. Moving the box is recommended for kitchen islands to maintain a clean, high-end aesthetic.